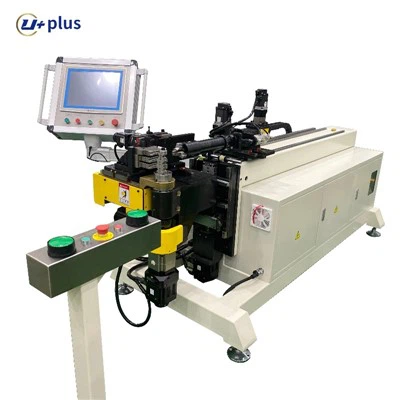
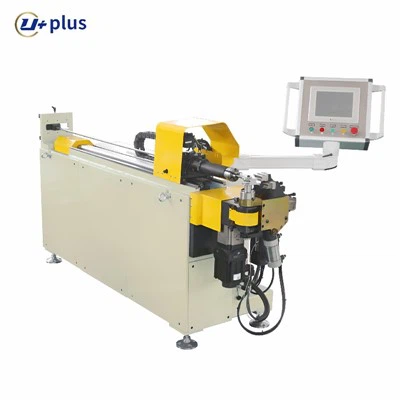
Preparation
Before operating the automatic slitter, the following preparations are required:
1. Check that the machine's power and air supply are functioning properly, and confirm that the power switch on the control panel is off.
2. Check that the tool is correctly installed and the clamp is secure.
3. Check that the material tray is properly placed and the sheet is flat.
4. Ensure that the work area is clean and free of debris.
Setting Parameters
1. Press the power switch on the control panel to turn on the automatic slitter.
2. Press the "Menu" button on the machine control system to enter the parameter setting interface.
3. Set the cutting depth, speed, cutting mode, and other parameters as needed.
4. After confirming that the parameter settings are correct, press the "Confirm" button to save.
Unloading Operation
1. Place the sheet to be cut flat on the material tray and adjust its position.
2. Move the positioner to a certain distance from the sheet and confirm that it is firmly in contact with the sheet.
3. Place the sheet on the suction line and adjust the suction cup height to ensure a secure connection.
4. Press the "Start" button to begin the automatic cutting machine.
5. Check the cutting results and repeatedly adjust the parameters and tool position until satisfactory.
Debugging Operations
1. Debugging is required after first use or after changing sheets.
2. Enter the automatic position calibration screen of the automatic cutting machine and follow the prompts to calibrate the machine coordinates and suction cup position.
3. Manually engage and disengage the machine to adjust the suction cup height and flatness to ensure secure connection.
4. Manually adjust the tool position and distance to ensure the cutting result meets your requirements.